Hey all,
Sorry I haven't posted in a week! I've been working full-time hours at my job and got super busy recently. BUT, I did still find time to do these nails and post them for you. I really like how well the silvery stamp shows on the blue.

The stamp got a little smudged on the pinky finger, but I was in a rush and wasn't bothered by it enough to fix it.

I also wanted to send a shootout to all my friends that have been inspired to start doing more with their nails than painting solid colours - You're all doing an awesome job! :)

Base Colour: ACO - Electric Ocean
Stamp Colour: ACO - Vegas Gold (ended up looking silver once stamped)
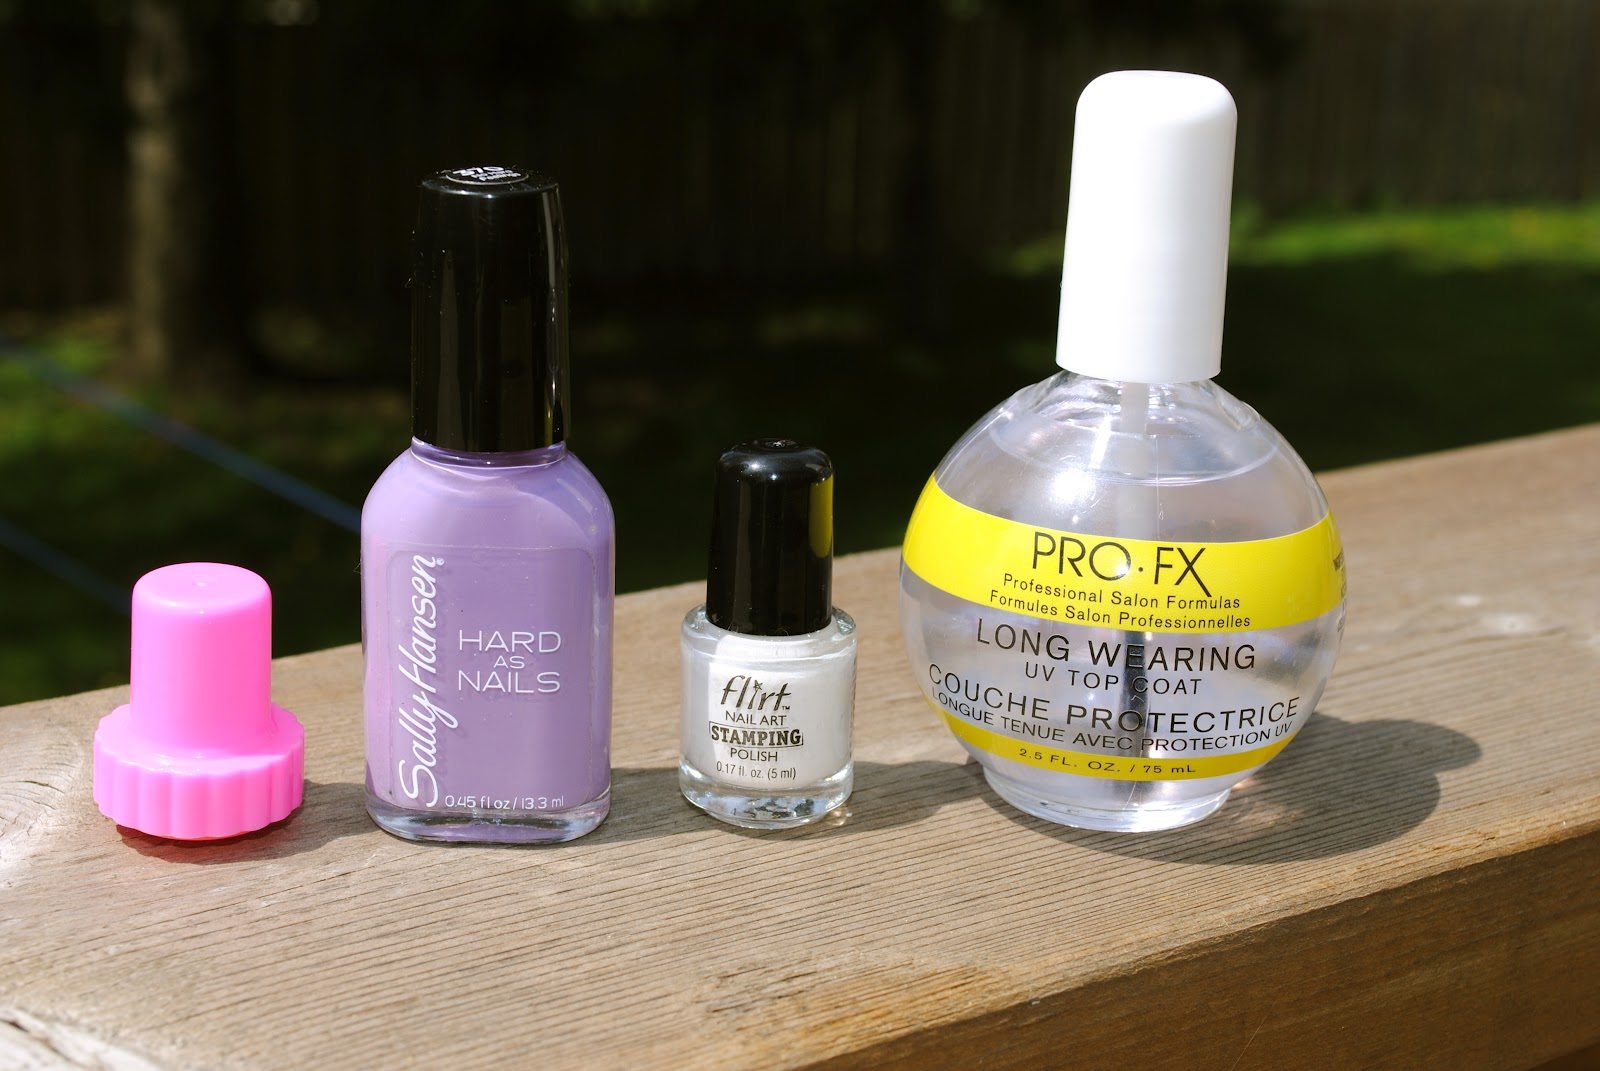
Top Coat: PRO FX Long Wearing UV Top Coat
Stamping Plate: Bundle Monster - BM 205

. love&sunshine&nailpolish, Cait xo.